We use cookies on this site to enhance your user experience
By clicking the Accept button, you agree to us doing so. More info on our cookie policy
We use cookies on this site to enhance your user experience
By clicking the Accept button, you agree to us doing so. More info on our cookie policy
Published: Oct 27, 2017 by C.S. Rhymes
Recently I decided to make a new section of my website for short stories. This presented my with a dilemma about how best to make multiple post types using Jekyll and GitHub Pages. I found a few different ways people have done it in the past, but I found Collections were the best way of doing it so I thought I would share how I did it.

Start with creating a new directory in your project, with the name starting with an underscore. I named my collection stories to I created a directory called _stories.
Next, update your _config.yml file with a new collections section, and under that add your collection name, this time without the underscore, in my example stories. Then, assuming you want to output each of your stories as a separate page, add output: true.
The below shows what was added.
collections:
  stories:
    output: true
Now you can start creating pages within your collection directory (_stories). It looks like either html or markdown format works, but I created mine as markdown so I could make use of a template.
I created a new template for stories as I wanted them to be a bit different from standard blog post pages. I created a story.html file in the _layouts directory. This template can be as simple as you want, as all it really needs are the {{ title }} and {{ content }} placeholders. I added some front matter to the story.html in layouts so it inherited the default layout, but you can edit this to suit your site layout.
Below is an example of a simple layout for your collection pages.
---
layout: default
---

<h1>{{ title }}</h1>
{{ content }}
Now we get to your collection content pages. All you need to do is create a separate markdown page per content page with the following front matter, layout, title and description.
---
layout: story
title: Story Title Goes Here
description: "The story description text goes here"
---
Then write your content underneath in markdown as you would on a post.
Lastly, you probably want a way of getting to your collection pages. I created a stories.html page in the site root to act as the index page for the stories. If you prefer you can create a directory called stories and put an index.html page in there instead.
The documentation says you can create a page in the _stories directory and give it a permalink but for me this made it appear in the loop below as well so it was linking to itself.
Anyway, you can loop through the pages in the collection using a simple for loop in your stories.html page as per below.
{% for item in site.stories %}
  <h2>{{ item.title }}</h2>
  <p>{{ item.description }}</p>
  <p><a href="{{ item.url }}">{{ item.title }}</a></p>
{% endfor %}
Hopefully this is all the information you need to start creating multiple post types using Jekyll and GitHub pages. My site is all set up. Now I need to do is to start writing some stories…
Share
Latest Posts

Recently I had the opportunity to work on a new side project. I had already decided I wanted to use Laravel and Livewire, but I wasn’t sure about the frontend user interface. I had seen some demos of Flux UI and liked what I had seen, so decided to give it a try.

I thought I’d share some learnings about how to host a Next.js site with AWS Elastic Beanstalk. This is a minimum configuration to get a basic site up and running.

I’ve seen a few posts recently asking what other authors use for their website. There are many options available, but sometimes you just want a single page with links to your social media profiles and links to your books. This is where Bulma Clean Theme and GitHub pages can come to the rescue.
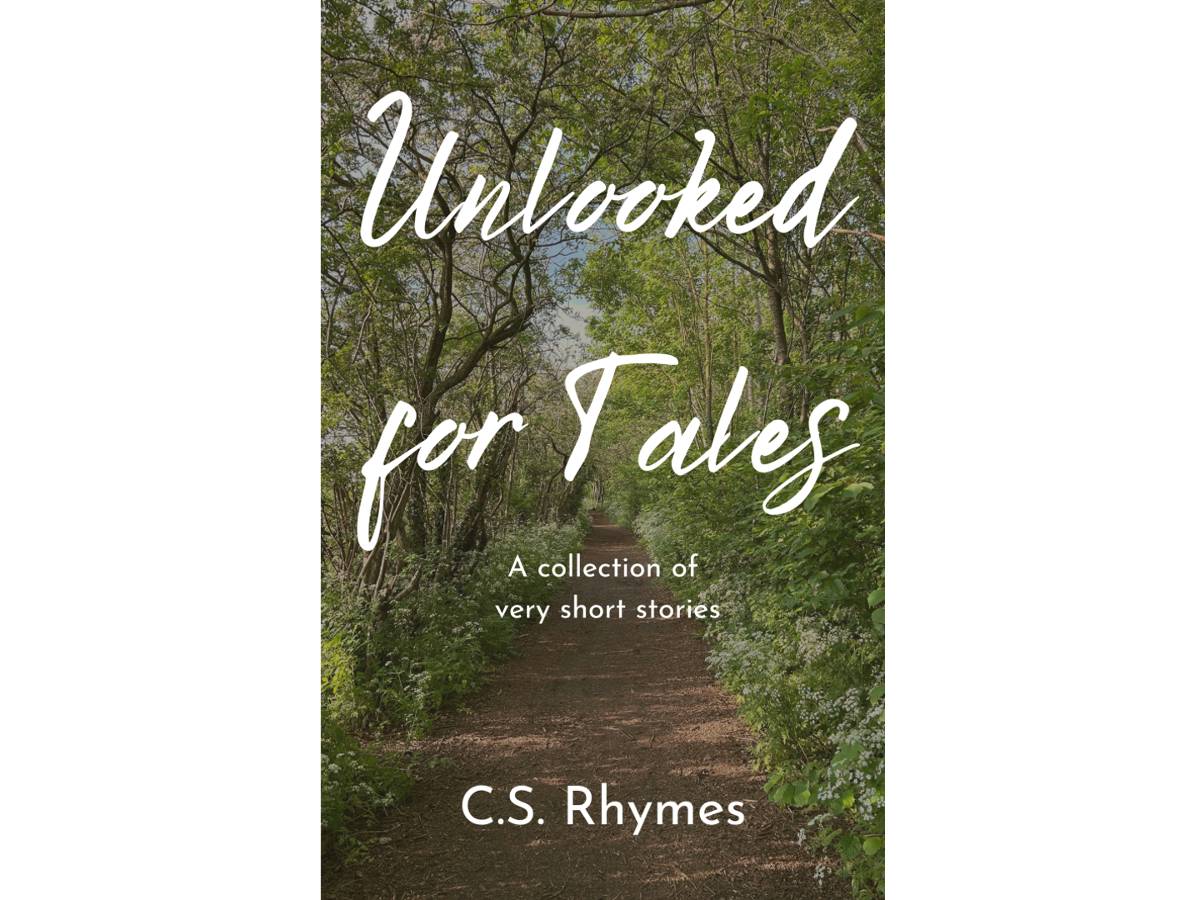
Unlooked for Tales - a collection of short stories
By C.S. Rhymes
Free on Apple Books and Google Play Books
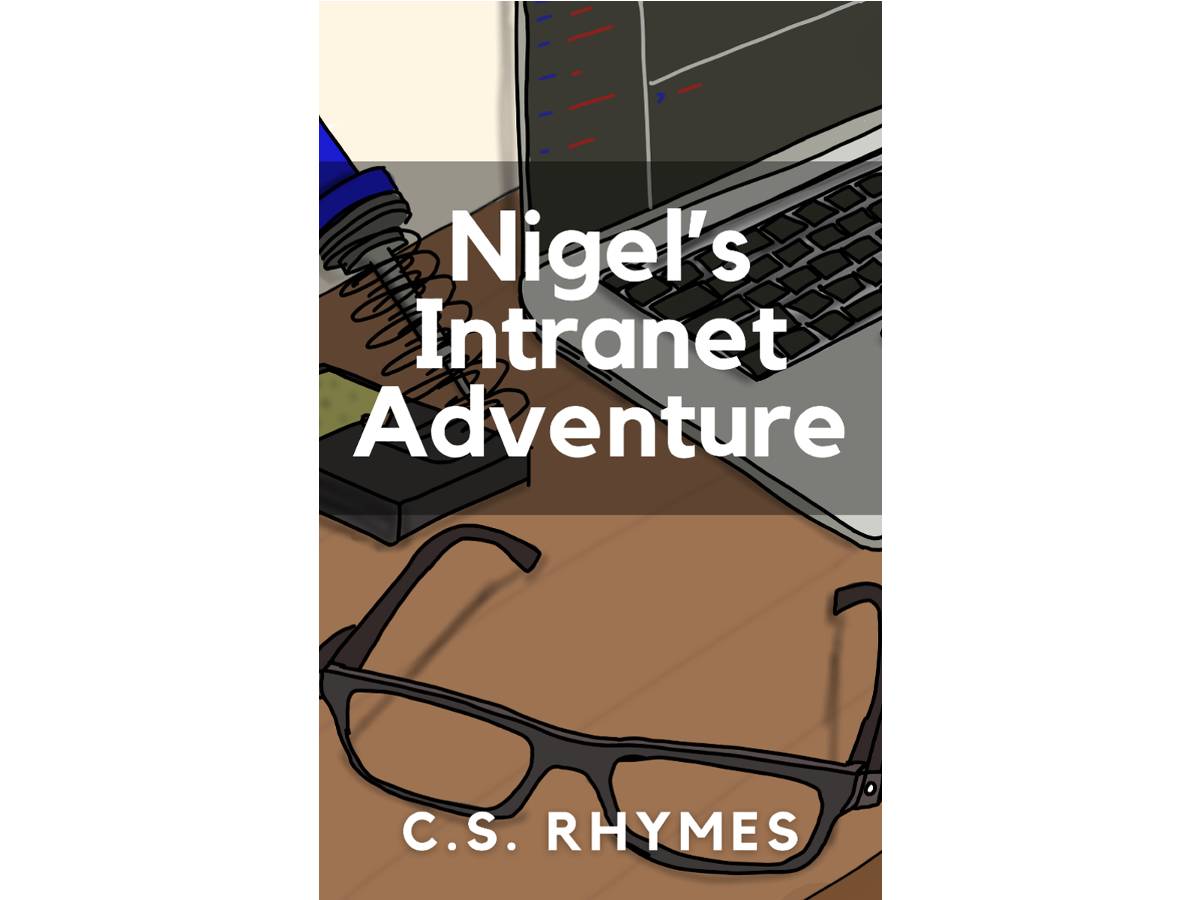
Nigel's Intranet Adventure
By C.S. Rhymes
From £0.99 or read for free on Kindle Unlimited!