We use cookies on this site to enhance your user experience
By clicking the Accept button, you agree to us doing so. More info on our cookie policy
We use cookies on this site to enhance your user experience
By clicking the Accept button, you agree to us doing so. More info on our cookie policy
Published: May 20, 2025 by C.S. Rhymes
I have seen a few posts on Threads recently asking what software people use to format their books. This is one option out of many, but I thought I would share my current workflow to give authors an insight into the pros and cons.
I use Google Docs to write. This is because I find it easy to use, it’s free, has a grammar and spell checker, and it syncs to the cloud and between my various devices. I have been known to do some writing on my mobile phone whilst sat in a coffee shop and the Google Docs app allows me to easily pick up where I have left off on another device.
I then use Kindle Create to format the book ready for uploading to Kindle Direct Publishing.
You can just get stuck in and start writing in Google Docs, but there are a couple of things that I’d like to mention that make life easier later on.
Rather than making your chapter titles simple bold text, try and use headings. For chapters, I use ‘Heading 1’. This offers three advantages.
I have had the tendency to insert an empty line between paragraphs of text. This is probably due to the way I write content form my blog in markdown. This is probably fine for non-fiction books, but fiction books tend to have each paragraph indented, making it easier to read.
I recently updated one of my books in Kindle Create and manually indented each paragraph. All I can say is, I’m glad it was a novella. I still need to go through others and do the same reformatting when I have some time.
You get the gist of what I am saying from this TikTok…
To save you having to do this, you can update the settings so Google Docs automatically indents the paragraphs for you.
This should mean that each new paragraph going forward will be indented automatically.
I don’t think this makes a difference to Kindle Create, but I like to up the line spacing from the default 1.15 to 1.5. This makes it easier for me to read (and looks like I have written more words than I really have).
Once you have your finished manuscript, you are ready to export. Kindle Create only accepts .doc, .docx or .rtf formats, so we need to export to one of the compatible formats.
Your manuscript will be downloaded into a Word formatted file.
Kindle Create can be downloaded from the Amazon website and supports Windows and Mac. Follow the instructions to install the software and then launch it.
We have done a lot of hard work getting this far. Make sure you regularly press save and keep your changes.
Now we have all the chapter titles selected, we can easily generate a ‘Table of contents’ by clicking on the + (plus) symbol next to ‘Front Matter’ and selecting ‘Table of contents’ from the dropdown. This will give you a preview of the contents with your chapter headings. Press ‘Ok’ to create them.
It’s up to you what front matter you add to your book, but I would recommend adding a title page and copyright as a minimum. If you have a prologue, then you can also add this to the Front Matter section.
Again, it’s up to you what back matter you want to add to your book, but if you have other books on Kindle then you can add ‘Books by this author’ with the titles and blurb, but also a link to the other books so readers can easily click on the links to buy your other books. This is especially useful if your book is in a series and the reader wants to read the next book.
There are four themes to choose from. Whilst it’s not loads of options, it ensures that it should always look good to readers. Choose a theme that best suits your book. You can preview how the theme looks using the Preview tool.
Kindle Create has a handy ‘Preview’ tool that lets you preview the book in tablet, phone and kindle views. This allows you to double check your formatting before it has been uploaded to Kindle Direct Publishing (KDP). You can easily make changes in the editor and then open the preview again to ensure it looks as you expect.
When you are happy with the content and your formatting, you can press the ‘Export’ button.
You can export to KPF and EPUB formats. I generally use the KPF format as I can use it for both kindle and paperback formats in KDP.
Once the book has exported, you can create your new book in KDP as normal and upload the .kpf file.
Only one last thing to say is good luck with your new book!
Share
Latest Posts

Recently I had the opportunity to work on a new side project. I had already decided I wanted to use Laravel and Livewire, but I wasn’t sure about the frontend user interface. I had seen some demos of Flux UI and liked what I had seen, so decided to give it a try.

I thought I’d share some learnings about how to host a Next.js site with AWS Elastic Beanstalk. This is a minimum configuration to get a basic site up and running.
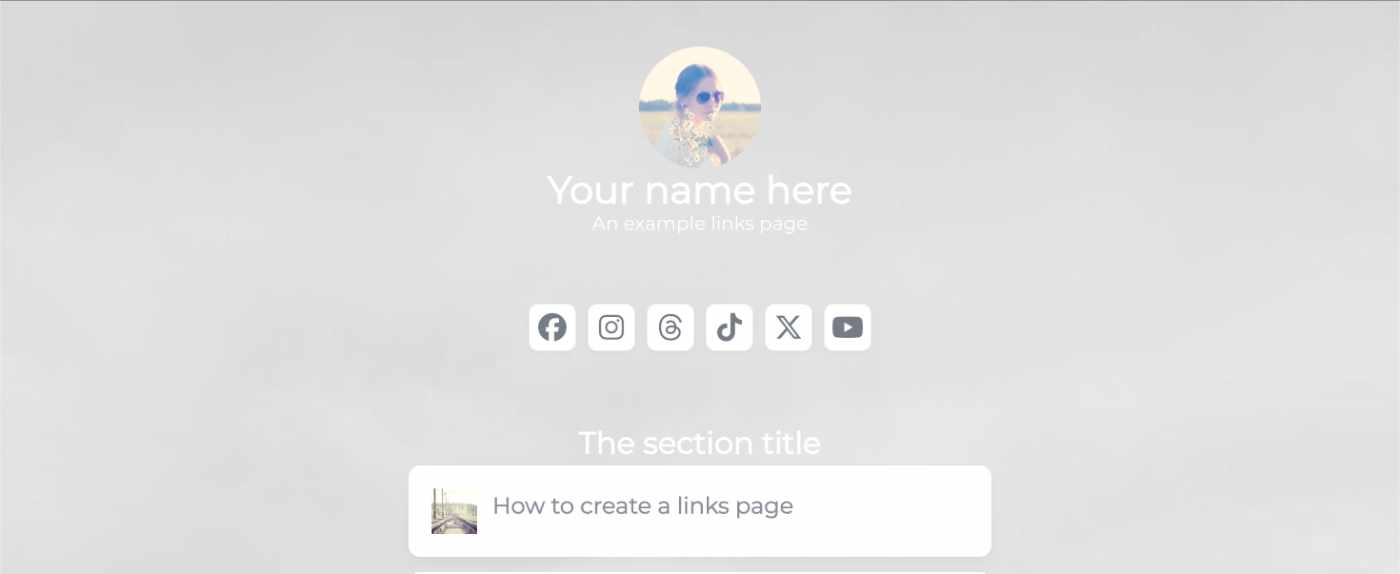
I’ve seen a few posts recently asking what other authors use for their website. There are many options available, but sometimes you just want a single page with links to your social media profiles and links to your books. This is where Bulma Clean Theme and GitHub pages can come to the rescue.
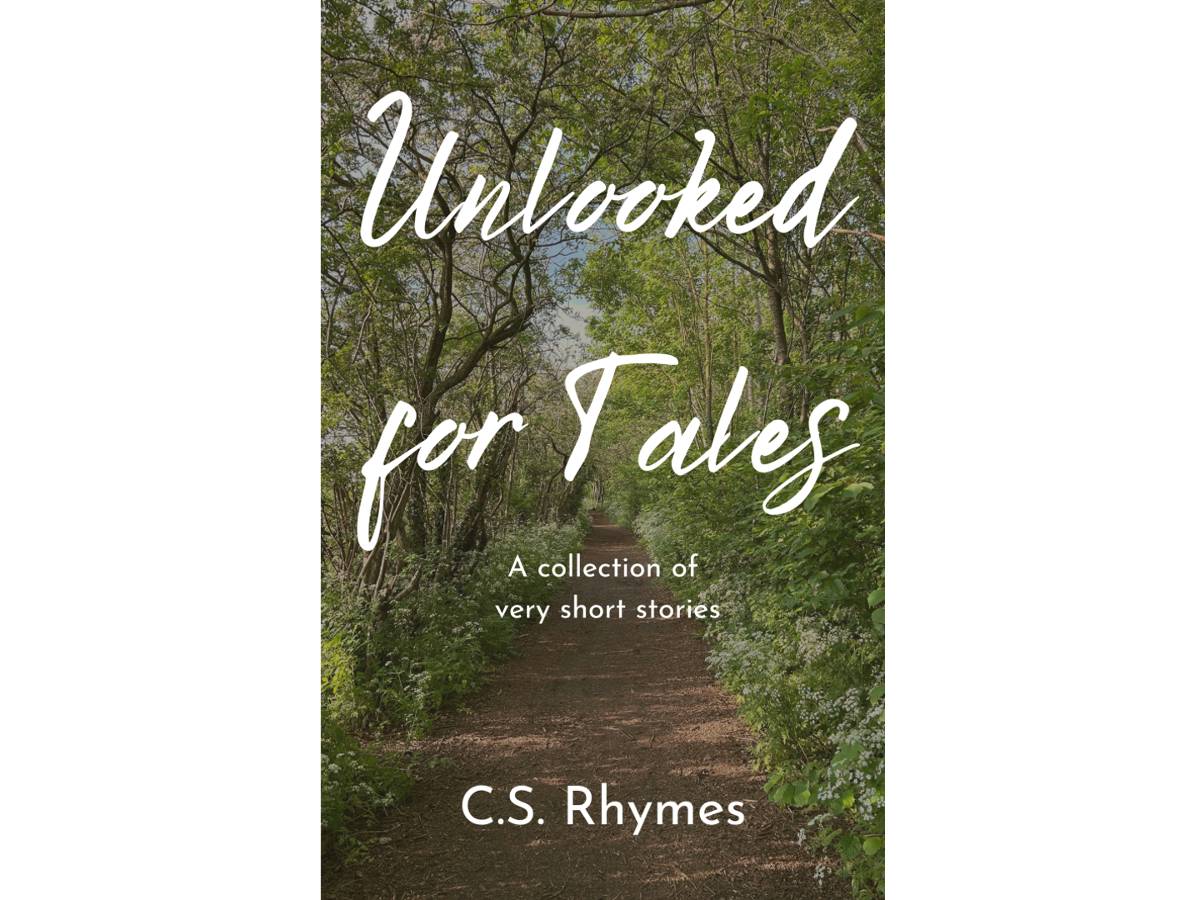
Unlooked for Tales - a collection of short stories
By C.S. Rhymes
Free on Apple Books and Google Play Books
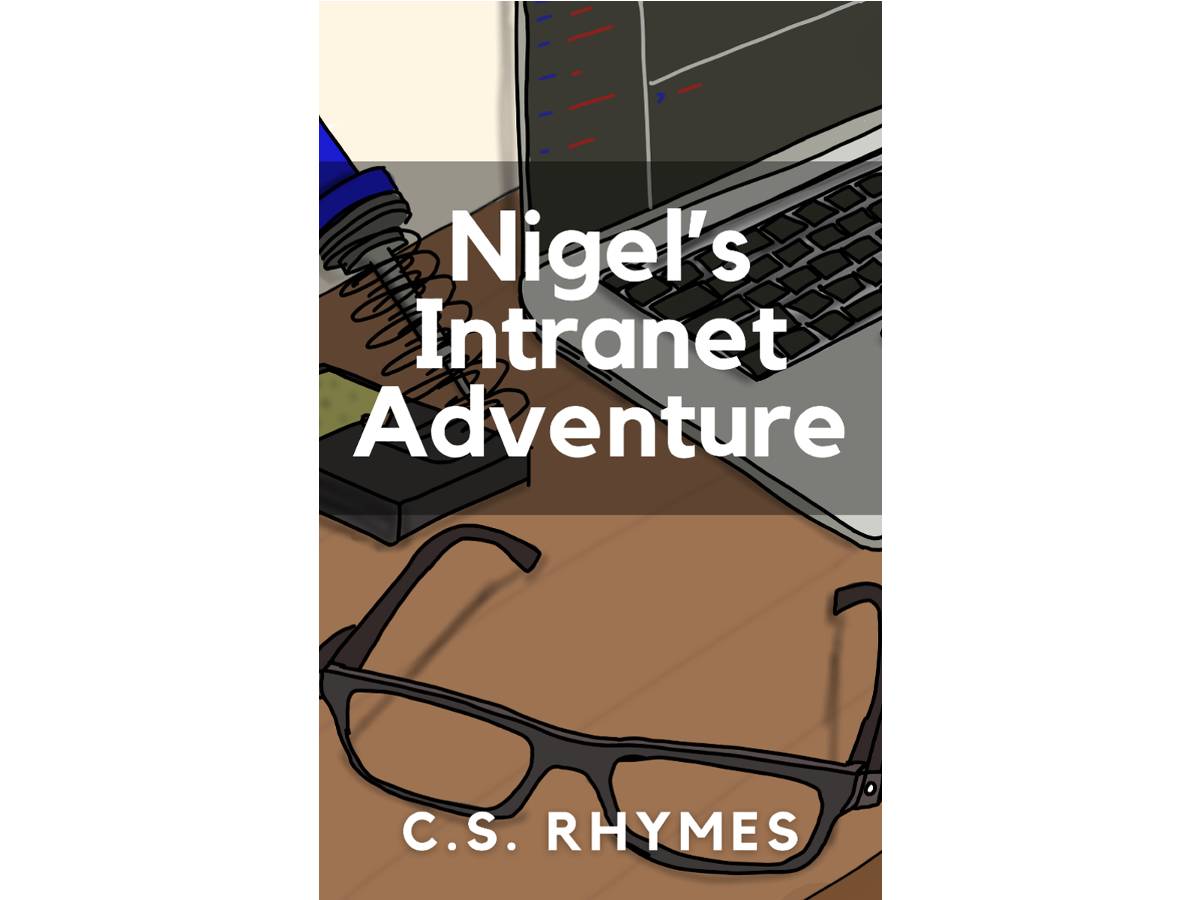
Nigel's Intranet Adventure
By C.S. Rhymes
From £0.99 or read for free on Kindle Unlimited!